Steps to enable the Desktop Experience on Windows Server 2012
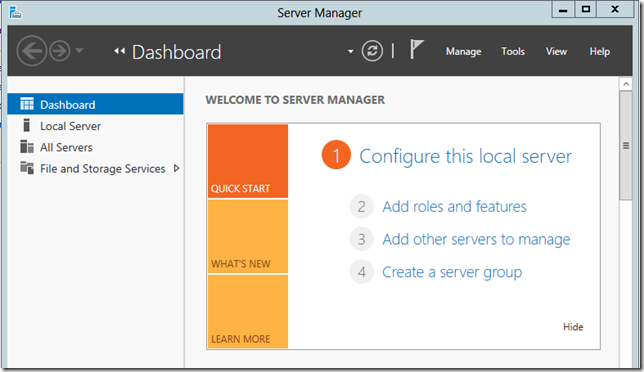
1.Start Server Manager
2.Select Add roles and features
3.Skip the information page by clicking Next.
4.Select Role-based or feature-based installation as installation type and click Next.
5.We want to install the Desktop Experience feature on the local server which is also selected by default so choose Next.
6.The Desktop Experience feature is not a Server Role, so skip the Server Roles page by clicking Next.
7.At the Select Features page, expand the option User Interfaces and Infrastructure (Installed) and Select Desktop Experience.

8.Click Add Features (on the next dialog window)
9.Click Next
10.Click Install

11. After the installation has completed, restart the server
12. Start the Web client service under services

Hope this helps..
1.Start Server Manager
2.Select Add roles and features
3.Skip the information page by clicking Next.
4.Select Role-based or feature-based installation as installation type and click Next.
5.We want to install the Desktop Experience feature on the local server which is also selected by default so choose Next.
6.The Desktop Experience feature is not a Server Role, so skip the Server Roles page by clicking Next.
7.At the Select Features page, expand the option User Interfaces and Infrastructure (Installed) and Select Desktop Experience.
8.Click Add Features (on the next dialog window)
9.Click Next
10.Click Install
11. After the installation has completed, restart the server
12. Start the Web client service under services
Hope this helps..
No comments:
Post a Comment